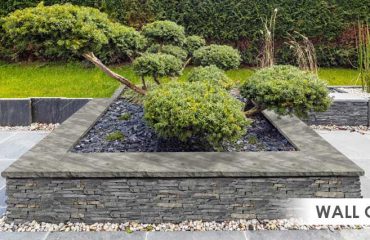
Looking for outdoor area revamping?
Get rid of old traditional flooring stone and choose natural stone pavers for a great impact. Contact SUI – the natural stone supplier in U.S.A and bring the natural solution to your place. Natural paving stone is one of the best ways to garnish your outdoor area as per the 2021 trend.
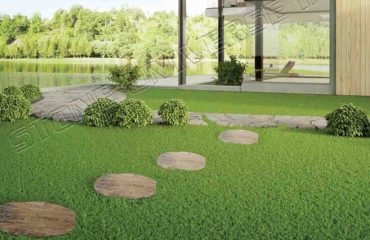
Featuring high durability along with ease of maintenance, SUI’s paving stones impart a rustic look all around. If you are an eco-friendly person, then this natural stone is an ideal choice for your garden landscaping. A well-designed outdoor space with hard-wearing stone paver installation is all that your garden landscaping demands.
Choose from the wide collection of stone types that suits best to your area.
Either you are looking for a DIY project or want to hire someone professional for the landscaping project; you should first have to be familiar with the process of installation. Revamp your old and boring looking passage area with beautiful looking paving stones by following few simple steps by following this guide:
- PLAN & MEASURE THE GARDEN AREA
Create a plan and measure the garden area where you want to lay the natural paving stone. Accurate measurement of the area is a necessary step to follow before moving further in the plan. Use a measuring tape and calculate the square footage of the area (LxW).
With the help of this, you can figure out the number of stone pavers required to lay a garden area. Make sure to buy few more pavers in case of breakage, cutting, or edge filling. This will also adjust your budget before going to start the installation process.
- CHOOSE THE BEST SUITABLE NATURAL STONE PAVERS
When you join hands with SUI – the natural stone supplier, you will get an immense number of options to choose from. One can go with loose pavers for a magnificent appeal. Whereas, choosing an interlocking paver pattern also gives a great look.
12”x12” or 24”x24 paver installation in the garden area gives a symmetrical square or diagonal shape. 12”x24” pavers are best suitable for imparting the rectangular stripes-like appeal.
The paver ashlar pattern (8 size pattern) is comprised of different sizes which when lay on the outer area gives an amazing appeal. Paver Versailles and paver jumbo patterns for lying garden landscaping are also in today’s top demand.
- PREPARE THE GARDEN AREA
Once you are all done with the measurement of the area and choice of stone, the very next step is to prepare the garden area for further process. Firstly, outline the area where you want to set up your garden pathway. Mark a perimeter with the string to determine a clear boundary.
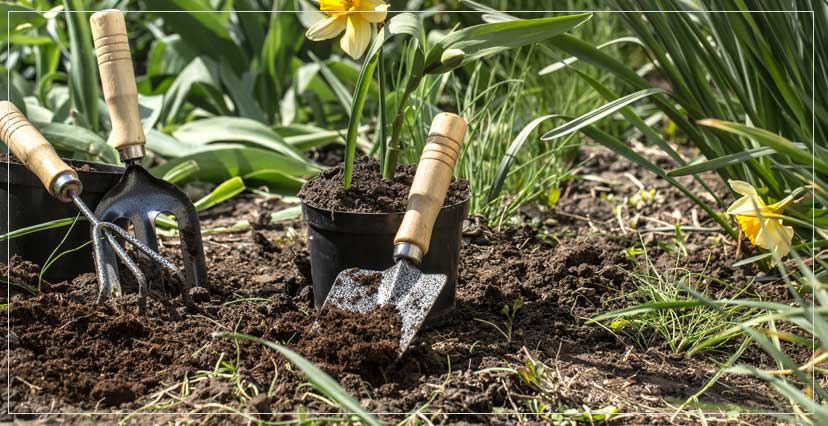
You need to remove extra material from the ground for a smooth finish. Work out on a clean surface by removing plants, grass, debris, and weeds. Always plan to install the natural stone flooring pavers with a slight slope to drain water easily.
- EXCAVATION PROCESS
Here you need an excavator and square shovel for the excavation process. One needs to dig deep in the surface to form a stable base. Remember to add approx. 1 inch of paver sand and 3-4 inches gravel base. The digging process will depend upon the functionality of the area and foot traffic.
Installation of edge restraints prevents the edging of the passage area from any kind of damage due to heavy load. Level the surface of the area with the help of a leveller or compactor.
- GRAVEL BASE & SAND BEDDING
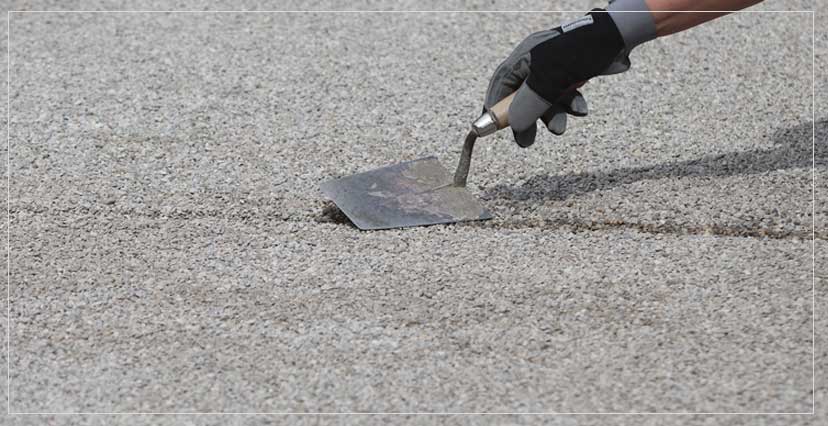
After you complete the excavation process, the next step is to lay the material that forms a smooth base for paver installation. Usually, small rock granules or gravels are used for the base. With the help of a plate compactor, level it well on a stable ad sturdy surface. Hand tamper can work well to level the small areas.
Sand bedding is required before laying paver on the garden floor. This provides a base where pavers can set easily. Here, the quality of sand matters a lot. It should be clean and free from dirt particles.
- NATURAL STONE PAVER INSTALLATION
Start installing the paver from the middle area leaving borders for a place. Lay them in the pattern as you planned. Place the paving stone evenly and gently on the sand base. Use a mechanical splitter, diamond saw, or masonry chisel for the required paver size. Once you are done with the installation process, use a mechanical plate compactor to adjust the pavers on the sand base.
- THE FINAL TOUCH
Try to place the pavers closer to each other to avoid a gap. At last, fill the grout with quality sand. Use a brush to fill the sand evenly in the gaps. Clean the garden area after the whole process. One can make use of sealers or concealers to have a long-lasting impact.

